Now Reading: The Complete Guide to Navigating Your Final Walkthrough Before Closing on a Home
-
01
The Complete Guide to Navigating Your Final Walkthrough Before Closing on a Home
The Complete Guide to Navigating Your Final Walkthrough Before Closing on a Home
Key Takeaways
- The final walkthrough is the last chance to inspect a property before you officially become the owner.
- Verify all agreed-upon repairs are completed and the home’s condition aligns with your purchase agreement.
- Carefully inspect all systems, appliances, and finishes to avoid post-closing disputes.
Embarking on the final walkthrough of your prospective home represents a crucial moment in your home-buying journey. It is your last opportunity to inspect the property, verify that it meets the contract’s stipulations, and confirm that all negotiated repairs have been addressed. By following a thorough homeowners checklist, you can proceed to closing with confidence, knowing your new home meets your expectations and that you are set for a smooth transition.
The final walkthrough is not simply a formality; it serves as your assurance that the home is being delivered in the exact condition you and the seller agreed upon. Whether you are a first-time buyer or a seasoned homeowner, understanding and approaching this step with diligence can save significant time, money, and headaches post-closing.
Key aspects of the final walkthrough include ensuring all repairs are complete and that appliances and systems function properly. This inspection is also a protective measure to confirm no unexpected damage or issues have arisen since your initial visit. Acting methodically through your checklist will help you avoid post-move-in surprises and help resolve problems before they become your responsibility.
For new build homes, you may also want to look into additional protection, like a home warranty for a new build. This type of warranty can be especially valuable by covering certain repairs and defects that could be discovered during or after your walkthrough, safeguarding your investment beyond closing day.
Understanding the Final Walkthrough
The final walkthrough, typically scheduled within 24 to 48 hours before closing, allows buyers to verify the home’s condition and confirm the completion of any repairs agreed upon after the inspection. This visit is not a new inspection or time for renegotiations. Instead, it is your opportunity to identify unexpected changes, damage, or incomplete repairs before the closing paperwork is signed. If you spot problems at this stage, you can halt or delay closing until these items are resolved.
Preparing for the Walkthrough
Preparation ensures that your walkthrough is both efficient and effective. Bring your purchase agreement, home inspection report, and copies of any repair requests or receipts provided by the seller. Use a notepad or your smartphone to document your findings and capture photos or videos of any discrepancies. Tools such as a flashlight for dimly lit spaces and a charger to check outlets will help you catch common issues that buyers sometimes overlook.
Minimizing distractions is important, so consider visiting the home with your real estate agent and without children or large groups. If possible, request that the property be vacant (except for items included in the sale), since this makes it easier to check that nothing is missing or damaged.
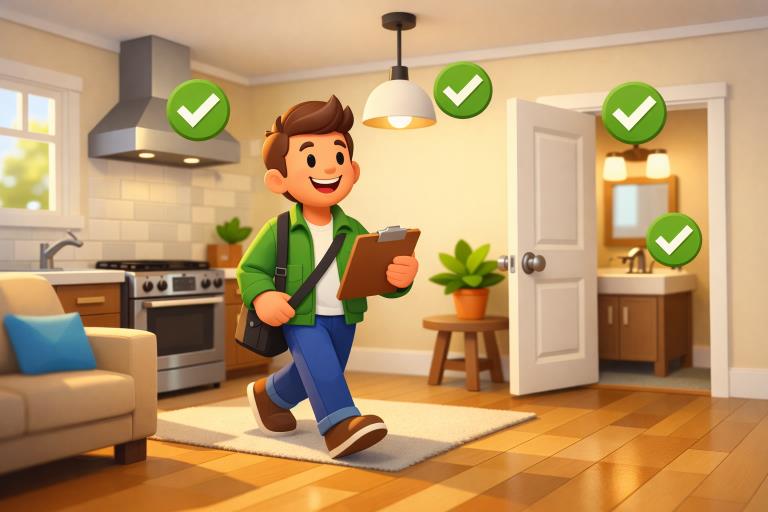
Comprehensive Checklist for the Final Walkthrough
1. General Condition
- Ensure all specific repairs listed in your agreement are complete.
- Look for major changes in walls, floors, ceilings, or finishes since your last visit.
2. Appliances and Fixtures
- Check the functionality of every appliance included in the sale. Turn on the oven, run the dishwasher, and test laundry machines.
- Turn on every light switch, fan, and fixture to ensure working order.
3. Plumbing
- Run faucets in kitchens, bathrooms, and utility rooms. Listen for drips and ensure proper water pressure.
- Flush every toilet and look under sinks for leaks, mildew, or water damage.
- Test showers and tubs for appropriate drainage and water temperature.
4. Electrical Systems
- Test outlets using a phone charger or small device to confirm power supply.
- Check the electrical panel for accessibility and clear labeling.
5. Heating, Ventilation, and Air Conditioning (HVAC)
- Test heating and AC units by cycling them on and off.
- Examine air filters and all thermostats for proper calibration.
6. Windows and Doors
- Open and close each window and door, checking for easy operation and secure locks.
- Inspect weatherstripping and seals for drafts or gaps.
7. Walls, Ceilings, and Floors
- Scan for new scratches, scuffs, stains, or holes, especially after the seller has moved out.
- Review areas that had previous repairs for quality workmanship and completion.
8. Exterior
- Walk the yard, driveway, and all outbuildings, ensuring they have not been damaged since your previous visit.
- Check gutters, roofing, and walkways for obvious problems that could indicate deferred maintenance.
Addressing Issues Discovered During the Walkthrough
If any issues are uncovered, it is critical to act swiftly. Take detailed photos, note their locations, and share all information with your real estate agent immediately. Your agent can help you negotiate with the seller, either for repairs to be completed prior to closing or for financial credits to cover post-closing work. Sometimes, closing can be postponed until repairs are made. Make sure everything is documented in writing as part of the transaction record, as advised by housing authority guidelines like those offered by the Consumer Financial Protection Bureau.
Conclusion
The final walkthrough is your safeguard before making one of the largest investments of your life. Diligence at this stage pays off by ensuring that you receive the property in its promised condition. Stay organized, document findings, and do not hesitate to press for repairs or credits as needed. By using a structured checklist and working closely with your real estate professional, you can confidently move toward closing knowing there will be no unwanted surprises in your new home. For further guidance on what to expect in your home purchase, comprehensive resources like this checklist from Zillow can boost your preparedness and peace of mind.