Now Reading: Moisture Control in Laboratories: Best Practices and Advanced Solutions for Reliable Results
-
01
Moisture Control in Laboratories: Best Practices and Advanced Solutions for Reliable Results
Moisture Control in Laboratories: Best Practices and Advanced Solutions for Reliable Results

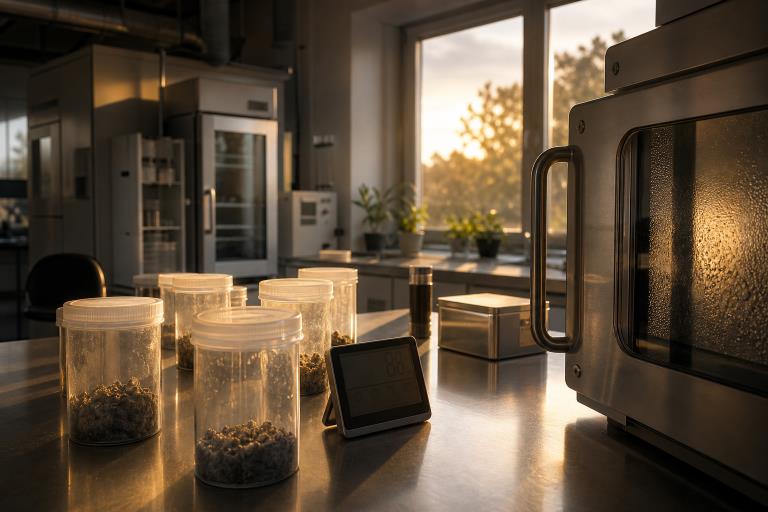
Moisture is a laboratory process variable, not just a comfort issue. Changes in humidity can alter sample mass, affect reagent stability, encourage corrosion, create condensation, and contribute to inconsistent results. A practical moisture-control plan helps protect sensitive work while making environmental deviations easier to detect and correct. Laboratories that need to evaluate materials under repeatable conditions may also use a humidity chamber to expose products, components, or packaging to defined temperature and humidity levels. Whether control occurs in a whole room or a smaller enclosure, the goal is the same: maintain conditions that support the method, material, and instrument being used.
Why Moisture Control Matters In Laboratories
Relative humidity describes how much water vapor is in the air compared with the maximum amount it can hold at that temperature. Absolute humidity refers to the actual amount of water vapor present. Dew point is the temperature at which the vapor begins to condense into liquid water. All three measurements can matter in laboratory work. Moisture can change the condition of hygroscopic powders, affect coating or adhesive performance, compromise packaging, and contribute to instrument drift. For example, a sample being weighed may absorb water from the air, increasing its apparent mass before the analysis even begins. Stable conditions are often more valuable than chasing a single universal humidity number.
Common Moisture Risks In Lab Settings
Frequent Sources Of Excess Moisture
Humidity can enter through outdoor air, poorly sealed doors, windows, wall penetrations, and building leaks. Internal sources include sinks, water baths, wash stations, autoclaves, cleaning activity, and high occupant traffic in compact rooms. HVAC imbalance, blocked returns, and seasonal temperature changes can make these sources more difficult to manage.
Problems Caused By Unstable Moisture
High moisture can cause condensation on cold equipment, corrode exposed metal, extend drying times, and increase contamination concerns in persistently damp areas. Very dry conditions can create static-related handling problems. The FDA notes that excessive heat and humidity can affect device performance, reagent potency, package integrity, and the reliability of test results.
How To Set Practical Moisture Control Targets
A generic room target is not enough. The appropriate operating band should be determined by the work being performed.
- List sensitive materials and instruments.Identify items that can absorb water, dry out, corrode, or lose accuracy.
- Review manufacturer instructions.Check operating, storage, and recovery requirements.
- Review test methods.Note required conditioning periods and environmental limits.
- Map the room.Measure conditions near doors, vents, cold equipment, benches, and storage areas.
- Set operating and alert limits.Define acceptable conditions and a clear response threshold.
- Measure recovery time.Determine how quickly the space returns to normal after a disturbance.
A precision weighing area, a general research room, a clean workspace, and a moisture-sensitive storage cabinet may all require different plans.
Monitoring Methods That Support Reliable Data
Use calibrated temperature and humidity sensors placed near sensitive work, not only at the room entrance. Log readings at a frequency appropriate for the process, and record events such as door openings, cleaning, equipment cycles, or unusual weather. High and low alarms help teams respond before a deviation affects testing. Review trends for brief spikes, slow workday drift, recurring overnight changes, and differences between room zones. If readings look stable but results do not, investigate sensor placement, local airflow, sample handling, and conditions inside cabinets or enclosures.
Daily Best Practices For Stable Conditions
- Keep doors closed when practical and group sample retrieval tasks.
- Allow cold materials to warm in sealed packaging before opening them.
- Keep moisture-producing equipment away from precision instruments.
- Store sensitive materials in sealed containers and replace saturated desiccants.
- Keep supply vents, return grilles, drains, and sensor paths clear.
- Clean spills promptly and document recurring water sources.
Start-Of-Shift Checklist
- Check temperature, relative humidity, and alarm history.
- Look for visible condensation, leaks, or damp surfaces.
- Inspect door seals and cold equipment surfaces.
- Confirm that sensitive materials remain closed and correctly stored.
- Record unusual events before testing begins.
Advanced Solutions For Difficult Moisture Problems
Dedicated dehumidification can help when building HVAC systems cannot remove enough moisture during humid weather or low-temperature operations. Desiccant-based drying may be appropriate for enclosed spaces that need lower moisture levels than cooling-based systems can reliably achieve. Both approaches require proper sizing, drainage or regeneration, airflow design, filtration, and routine service. For small quantities of sensitive material, local control may be more efficient than conditioning an entire room. Dry boxes, desiccators, sealed cabinets, and controlled enclosures should be evaluated for capacity, access frequency, recovery time, and monitoring needs. Closed-loop systems can include alarms, user permissions, recorded data, and clearer deviation-response procedures.
How To Reduce Condensation And Dew Point Risk
Relative humidity alone does not show whether a cold surface will collect water. If a chilled pipe, metal fixture, sample container, or instrument surface falls below the room’s dew point, condensation can form even when the room display appears acceptable. Check air conditions alongside surface temperatures in known risk areas. Reduce risk by insulating cold surfaces where practical, improving airflow around vulnerable equipment, and using gradual transitions between cold and warm environments. For example, a sealed cold sample should remain closed until it reaches a controlled temperature, rather than being opened immediately in humid room air.
Maintenance, Calibration, And Recordkeeping
Monthly inspections should cover sensors, cables, filters, drains, seals, water-handling components, and evidence of corrosion or leaks. Periodically compare sensors with a traceable reference, verify alarm response, and repeat room mapping after renovations or major equipment changes. Calibration records should link each device to its location, intended use, acceptance limits, calibration date, and corrective action history. The CDC also emphasizes monitoring ventilation systems, maintaining filters, documenting key parameters, and ensuring systems provide effective moisture removal in applicable health-care environments. Its environmental-control recommendations offer useful maintenance principles for facilities with demanding environmental controls.
A Step-By-Step Moisture Troubleshooting Plan
- Confirm the reading with a second calibrated device.
- Check whether the sensor is too close to a vent, door, heat source, or cold surface.
- Inspect for leaks, open water sources, wet cleaning activity, or drain problems.
- Review maintenance, construction, weather, occupancy, and equipment changes.
- Inspect airflow for blocked returns, poor circulation, or supply imbalance.
- Compare surface temperature with dew point when condensation is present.
- Apply one controlled correction at a time and document recovery.
Common Questions About Laboratory Moisture Control
What Is The Best Humidity Level For A Laboratory?
There is no single answer. The correct range depends on the method, materials, instruments, contamination controls, and facility design.
Is Relative Humidity Enough?
Not always. Dew point and surface temperature are also important when condensation could affect samples or equipment.
Can A Dehumidifier Solve Every Problem?
No. It will not correct leaks, poor airflow, bad sensor placement, cold-surface condensation, or moisture introduced by laboratory processes.
Final Takeaway
Reliable laboratory moisture control starts with clear targets, accurate measurement, disciplined daily practices, and planned maintenance. Advanced equipment can improve performance, but dependable results come from combining the right technology with useful data, routine calibration, and consistent procedures. Regular monitoring, proper equipment maintenance, and thorough staff training all contribute to maintaining stable laboratory conditions over time. Recording environmental trends also helps identify gradual changes before they affect testing accuracy or sample integrity. Treating moisture as a measurable process variable instead of a background condition allows laboratories to respond proactively rather than reactively. This practical approach helps reduce unexpected variability, protect sensitive materials, support regulatory compliance, and build stronger confidence in every result produced.